How to photograph DIY-Macro?
 You keep snails, shrimps, fish and would like to make a nice macro shot with your camera but no money to buy an original macro-lens...here is what I do and it doesn't cost a penny.
NOTE;This photography trick applies only for cameras with changeable lenses!!!
------------------------------------------------------------------------------------------------
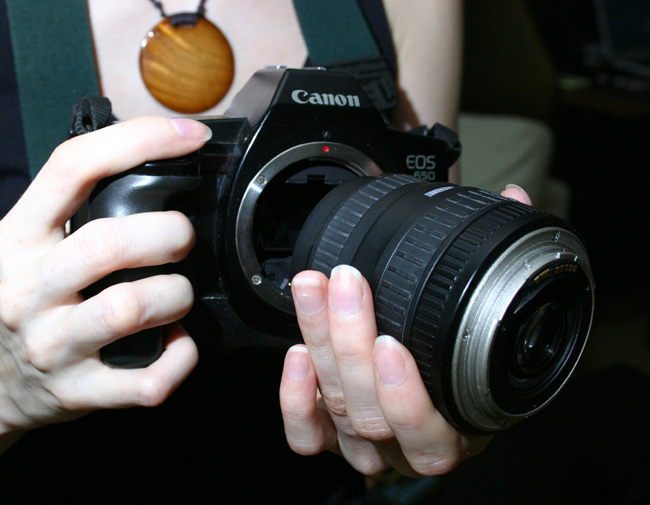
This photo shows the way a lens is normally attached to the camera body.
 ------------------------------------------------------------------------------------------------
Take the lens off of the camera body and turn it the other way around.
 ------------------------------------------------------------------------------------------------
Place the lens back on to the camera. You have to keep the lens fixed to the camera with one hand at all time, since the lens connection is now at the front, as you can see on the photo. This part can be a little bit annoying and your hands can get tired after a while. Take a rest, of course.
 In this photo shoot we are trying to make some nice macro photos of micro-algae, that are living on aquarium glass. First of all lets set the ASA to 1600 (or minimum ASA800). The shutter speed is on 1/125. To photograph algae it is necessary to have back-light (light that comes from the opposite side from where we are taking the shot from). As you can see on the following photo, I used one of my floor lamps. The lights should be very close to the glass and should hit the spot we desire to photograph. In this shooting I didn't use flash, but did photograph at day time.

The zoom lens I have is the 18-55 mm that comes together with the Canon 300 Digital Rebel (In article photos I used my old Canon EOS 650 as a reference, and took photos for this article with my Digital Canon Rebel). I set-up the lens on 18 mm. The wider the lens the better macro close-up you can perform. Everything is set-up and the lens is fixed to camera body and held with one hand. Look through the camera and move slowly towards the aquarium glass until the desired spot is sharp. To sharpen, you have to move back and forth until satisfied.
 When the desired object is sharp, without breathing, press the shutter button slowly. "CLICK" !!! The less we move the sharper the photo will be!!! I make approx. 30 shots to be able to choose 2-3 decent photos.
Here you can see some nice algae shots I made at this shooting. That Green Spot algae is in reality just 1 mm wide. I know, it is unbelievable but true. The rectangular algae is the Brown diatom algae, that is relished by the Otocinclus catfish. This is a small brown patch in the corner of my tank and here it is the macro photo of it... a Brown algae colony. Cute.
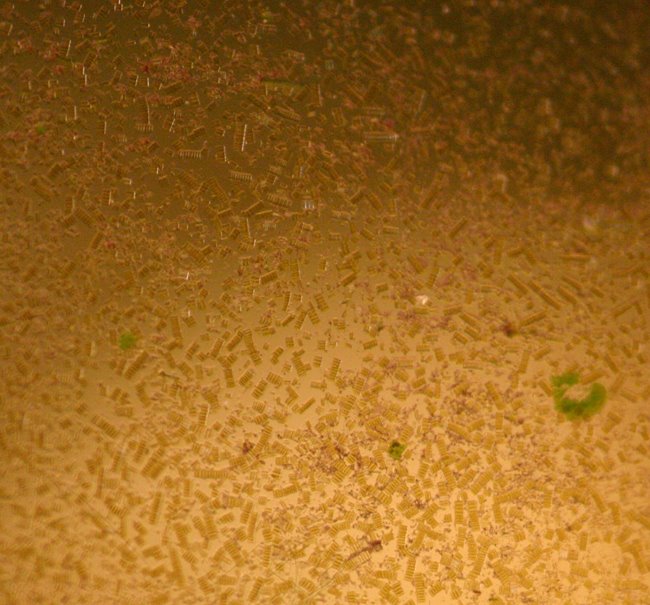 There you go, a simple recipe to DIY Macro Photography :-)
 This is what I found on my, actually very clean, aquarium glass (following photo). Who knows what you will find on your aquarium glass ??? Go DIY Macro ;-) I hope you will find this article helpful.
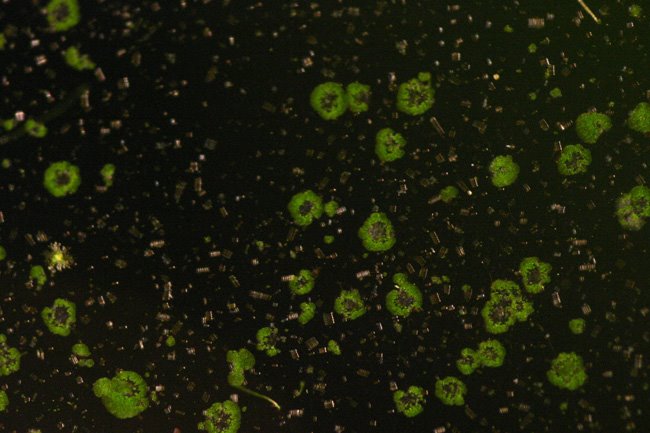
Special thanks to my photo-model, my lovely wife Kristine, without this illustrated article wouldn't be as attractive as it is. Kind regards, Dusko Bojic.
posted by Dusko Bojic aka Che Guebuddha @ 2:46 PM
![]()

<< Home